| Prep Time: 20 minutes | Bake Time: 8–10 minutes | Yield: 36 cookies |
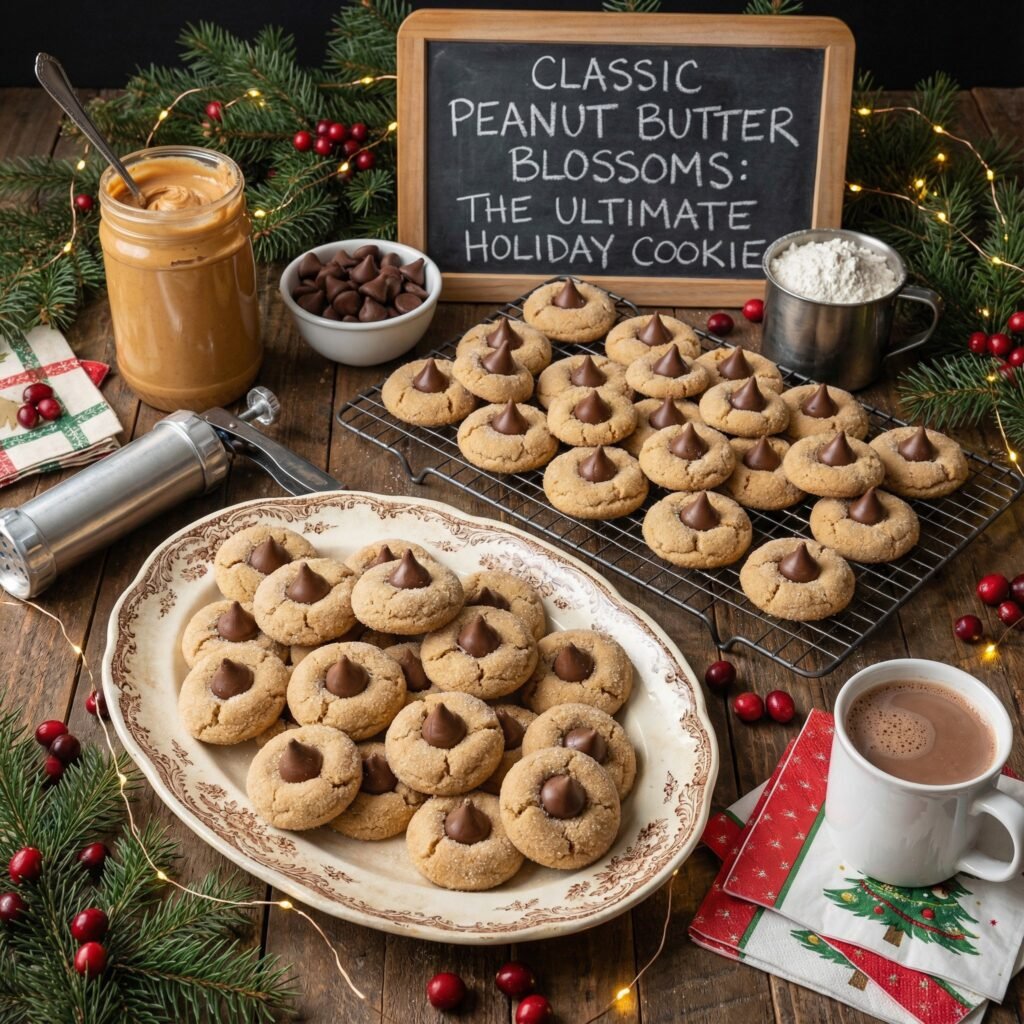
Is it really the holidays without a platter of Peanut Butter Blossoms? These iconic cookies, with their sparkly sugar coating and signature chocolate kiss nestled in the center, are a staple of American baking for a reason. They are the perfect marriage of flavors: salty, nutty peanut butter and sweet, creamy milk chocolate.
While they are famous for Christmas cookie exchanges, this recipe is simple enough to make year-round. The key to the perfect blossom is a cookie base that stays soft and tender, rather than crumbly. This recipe ensures a chewy texture that holds up the chocolate perfectly without cracking apart completely. Whether you call them Hershey Kiss cookies or Peanut Butter Blossoms, one thing is certain: they will disappear from the cookie jar in record time.
Why You’ll Love This Classic Recipe
- Nostalgic Flavor: One bite takes you right back to childhood holidays.
- Easy to Make: No chilling required and a straightforward mixing process makes them great for baking with kids.
- Freezer Friendly: Both the dough and the baked cookies freeze exceptionally well, making them ideal for holiday prep.
- Perfect Balance: The roll in granulated sugar adds a delightful crunch that contrasts with the soft cookie and melting chocolate.
What It Tastes Like
The base is a rich, dense peanut butter cookie that isn’t overly sweet on its own. It has a savory, nutty undertone that is immediately brightened by the coating of sugar crystals on the outside. The chocolate kiss provides a concentrated burst of creamy sweetness in the middle. The texture is soft and slightly chewy, not crisp or hard.
Ingredients & Quantities
This recipe yields about 3 dozen cookies.
- 1/2 cup (1 stick) Unsalted Butter, softened
- 1/2 cup Creamy Peanut Butter (standard brands like Jif or Skippy work best; avoid natural oil-separation types)
- 1/2 cup Granulated Sugar (plus approx. 1/3 cup extra for rolling)
- 1/2 cup Packed Light Brown Sugar
- 1 large Egg
- 1 Tablespoon Milk
- 1 teaspoon Vanilla Extract
- 1 3/4 cups All-Purpose Flour
- 1 teaspoon Baking Soda
- 1/2 teaspoon Salt
- 36 count Hershey’s Kisses (unwrapped)
Step-by-Step Instructions
- Prep: Preheat your oven to 375°F (190°C). Line baking sheets with parchment paper or silicone baking mats. Unwrap your chocolate kisses now so they are ready to go the second the cookies come out of the oven!
- Cream Butter & Sugars: In a large bowl or stand mixer, beat the 1/2 cup softened butter, 1/2 cup peanut butter, 1/2 cup granulated sugar, and 1/2 cup brown sugar together on medium speed until light and fluffy (about 2-3 minutes).
- Add Wet Ingredients: Beat in the 1 egg, 1 tablespoon milk, and 1 teaspoon vanilla extract until fully combined.
- Add Dry Ingredients: In a separate small bowl, whisk together the 1 3/4 cups flour, 1 teaspoon baking soda, and 1/2 teaspoon salt. Gradually add this flour mixture to the wet ingredients, mixing on low speed just until a dough forms. Do not overmix.
- Roll in Sugar: Place the extra 1/3 cup granulated sugar in a small bowl. Scoop the dough into 1-inch balls (about a tablespoon each). Roll each ball in the sugar until completely coated.
- Bake: Place the sugar-coated balls on the prepared baking sheets, spaced about 2 inches apart. Bake for 8–10 minutes. The cookies should be puffed and slightly golden at the edges, but they might still look a little underdone in the center. Do not overbake.
- ** The “Blossom” Step:** Remove the baking sheet from the oven. Immediately press an unwrapped Hershey’s Kiss into the center of each hot cookie. The cookie will crack slightly around the edges—this is the classic look!
- Cool: Let the cookies sit on the baking sheet for 5 minutes. The heat from the cookie will slightly melt the bottom of the chocolate, adhering it to the cookie. Transfer to a wire rack to cool completely so the chocolate can set again.
Storage & Freezing
- Room Temperature: Store in an airtight container for up to 5 days.
- Freezing Baked Cookies: Freeze the fully cooled cookies in a single layer first (so the chocolate doesn’t get squished), then transfer to a freezer-safe container for up to 3 months.
- Freezing Dough: You can freeze the rolled dough balls (before rolling in sugar). When ready to bake, thaw them on the counter for 20 minutes, roll in sugar, and bake.
Frequently Asked Questions
Why did my cookies crumble when I pressed the kiss? Some cracking is normal and desirable! However, if they fell apart completely, the dough might have been too dry (too much flour) or the cookies cooled down too much before you added the chocolate. You must press the kiss immediately upon removing them from the oven.
Can I use natural peanut butter? I don’t recommend it for this specific recipe. Natural peanut butter (the kind you have to stir) can make the dough too oily and cause the cookies to spread too much. Stick to standard creamy peanut butter.
How do I store them without the chocolate getting messy? When stacking them in a container, offset the rows so the bottom of the second layer of cookies rests on the cookie part of the bottom layer, fitting the kisses in the empty spaces. Or, simply place wax paper between layers.
Conclusion
These Classic Peanut Butter Blossoms are a holiday tradition that never goes out of style. They are easy, fun to make, and delicious to eat. Get your little helpers in the kitchen to help unwrap the chocolates and enjoy the baking magic!