| Prep Time: 10 minutes | Chill Time: 30 minutes | Yield: Approximately 1 pound of bark |
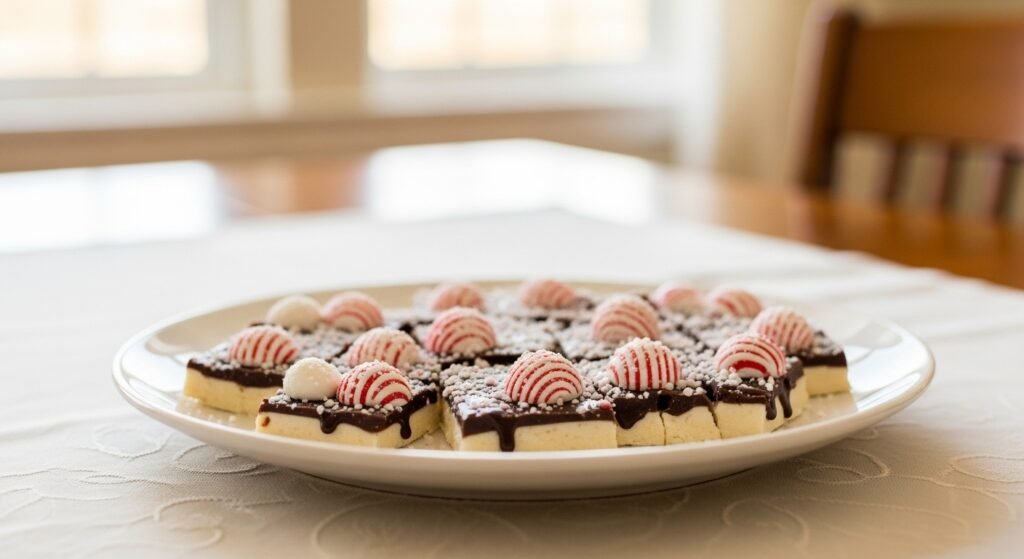
When the holiday season arrives, the last thing anyone needs is more stress in the kitchen. That’s why this No-Bake Peppermint Bark is an absolute lifesaver. It’s the quintessential 3-ingredient holiday treat that delivers on festive flair, incredible flavor, and impressive presentation with minimal effort.
Imagine layers of rich dark chocolate, creamy white chocolate infused with bright peppermint, and a generous sprinkling of crunchy, crushed candy canes. This bark not only looks beautiful but tastes like pure Christmas magic. It’s an ideal edible holiday gift, a quick party favor, or simply a delightful treat to have on hand for guests. Skip the expensive store-bought versions and make this incredibly easy and delicious homemade classic.
Why You’ll Love This Easy Christmas Candy
- Only 3 Ingredients! Seriously, that’s all it takes for this impressive bark.
- No Baking Required: It comes together in minutes on the stovetop or in the microwave, then simply chills in the fridge.
- Festive & Flavorful: The classic combination of chocolate and peppermint is a holiday favorite for a reason.
- Perfect for Gifting: It breaks into beautiful, irregular pieces that are perfect for packaging in cellophane bags or tins.
What It Tastes Like
This peppermint bark is a symphony of textures and temperatures. You get the deep, slightly bitter richness of dark chocolate, perfectly complemented by the sweet, smooth creaminess of white chocolate. The peppermint extract provides a refreshing, cool burst, while the crushed candy canes add a satisfying crunch and an extra layer of minty sweetness. It’s cool, crisp, and incredibly addictive.
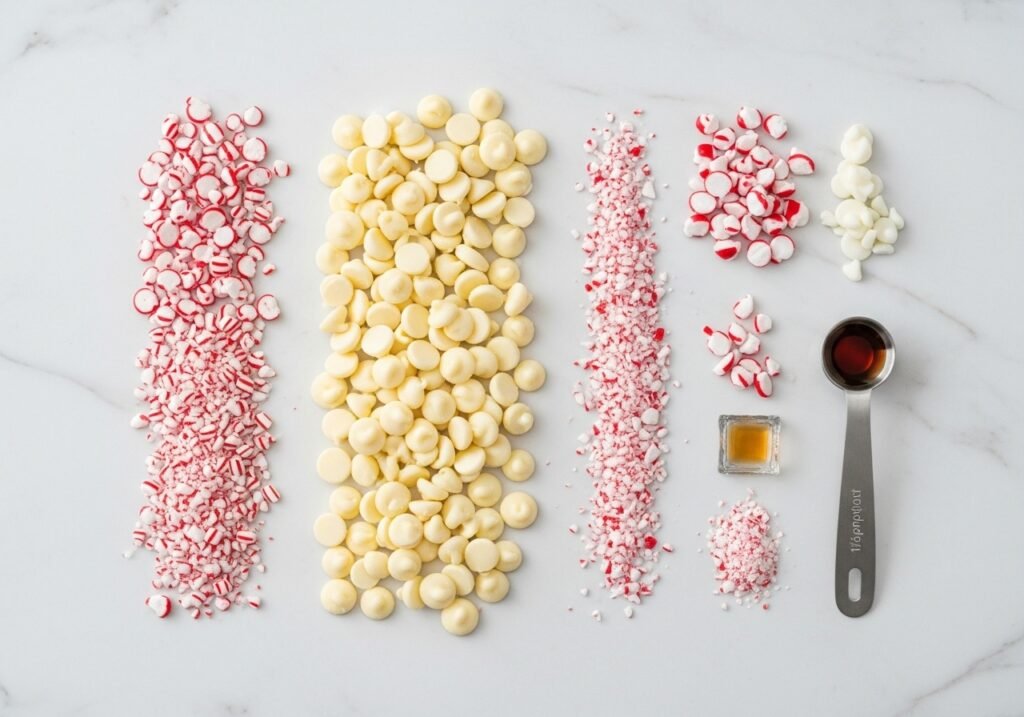
Ingredients & Quantities
This recipe makes about 1 pound of delicious peppermint bark.
- 10 ounces (about 1 ¾ cups) Good Quality Dark Chocolate Melting Wafers or Chopped Dark Chocolate Bars (e.g., Ghirardelli, Ghirardelli Dark Melting Wafers)
- 10 ounces (about 1 ¾ cups) Good Quality White Chocolate Melting Wafers or Chopped White Chocolate Bars (e.g., Ghirardelli, Candiquik)
- 1 teaspoon Peppermint Extract (or more, to taste)
- 1/2 cup Crushed Candy Canes (about 8-10 regular-sized candy canes)
Step-by-Step Instructions
- Prep: Line a large baking sheet (approximately 10×15 inches) with parchment paper. This will make it easy to remove the bark once it’s set. Crush your candy canes by placing them in a Ziploc bag and gently pounding them with a rolling pin or meat mallet until you have fine and coarse pieces.
- Melt Dark Chocolate: Place the 10 ounces of dark chocolate in a microwave-safe bowl. Microwave on 50% power for 60 seconds, then stir thoroughly. Continue microwaving in 30-second intervals, stirring after each, until the chocolate is smooth and completely melted. Pro Tip: Do not overheat chocolate, especially dark chocolate, as it can seize and become grainy.
- Spread Dark Chocolate Layer: Pour the melted dark chocolate onto the prepared baking sheet. Using an offset spatula or the back of a spoon, spread it evenly to form a thin layer (about 1/8 to 1/4 inch thick). Place the baking sheet in the refrigerator for 5-10 minutes, or until the dark chocolate is just set but still slightly tacky (you want the white chocolate to adhere to it).
- Melt White Chocolate: While the dark chocolate sets, place the 10 ounces of white chocolate in another clean, microwave-safe bowl. Microwave on 50% power for 60 seconds, then stir. Continue microwaving in 30-second intervals, stirring after each, until the white chocolate is smooth and melted. Stir in the 1 teaspoon of peppermint extract.
- Layer White Chocolate & Top: Pour the peppermint-infused white chocolate over the set dark chocolate layer. Quickly spread it evenly with your spatula. Immediately sprinkle the 1/2 cup of crushed candy canes over the top of the white chocolate, pressing down very gently to ensure they stick.
- Chill & Break: Return the baking sheet to the refrigerator for at least 30 minutes to 1 hour, or until the chocolate is completely set and hard. Once set, lift the parchment paper from the baking sheet and break the bark into irregular pieces.
Storage & Gifting
- Room Temperature: Store the peppermint bark in an airtight container in a cool, dry place for up to 2-3 weeks. If your house is warm, storing it in the refrigerator will prevent it from softening.
- Refrigerated: If stored in the fridge, bring to room temperature for a few minutes before serving for the best texture.
- Gifting: This bark is perfect for edible gifts! Place pieces in small cellophane bags tied with festive ribbon, or layer them in decorative tins.
Frequently Asked Questions
Why did my chocolate seize (get clumpy/hard)? Chocolate seizes when it comes into contact with even a tiny drop of water or if it gets overheated. Always use a completely dry bowl and utensils, and melt chocolate in short bursts, stirring well. If it seizes, unfortunately, it’s hard to recover for bark; it’s usually best to start over.
Can I use chocolate chips? While you technically can, chocolate chips contain stabilizers that make them hold their shape, which means they don’t melt as smoothly or set as hard as melting wafers or chopped baking bars. For the best texture and appearance, use wafers or good quality bars.
Can I add food coloring to the white chocolate? Yes, but use oil-based candy coloring gel, not water-based food coloring, which will cause the chocolate to seize. A drop or two of green or red oil-based coloring could make it extra festive!
Conclusion
This No-Bake Peppermint Bark is your secret weapon for effortless holiday magic. It’s so simple, so delicious, and so perfectly festive, it’s bound to become a cherished part of your Christmas traditions. Enjoy the easiest homemade Christmas candy!